While a lush green lawn may be every dad’s dream, achieving this dream comes with plenty of challenges. One of the biggest challenges to maintaining a beautiful lawn is managing weeds. Two of the most common lawn weeds that we encounter are crabgrass and quackgrass. While crabgrass and quackgrass may look similar, their control treatments vary greatly. Learning the difference between these grasses and how to treat each will help to save you both time and money.
Crabgrass
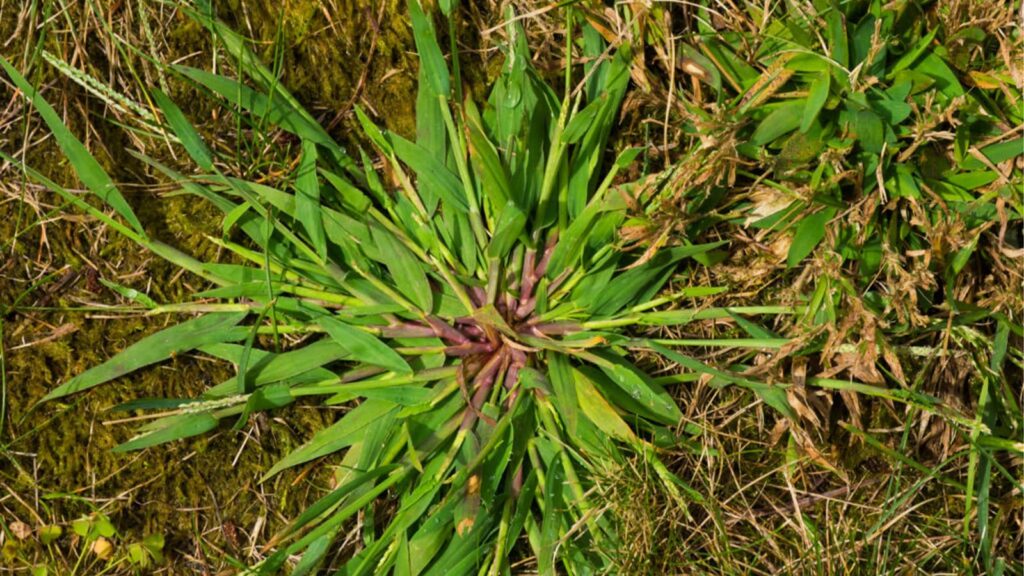
Crabgrass is an annual weed that thrives in hot sun and poor turf. Crabgrass is known for its thick, yellowish-green blades that make it stand out from the surrounding turfgrass. With a unique flat growth habit, crabgrass tends to grow outward rather than upward. This leads to the crabgrass usually being lower than your mower blades. Since crabgrass is an annual, it spreads by seed and dies off every year. Crabgrass seeds have to wait for the soil temperatures to warm up before they can germinate. Because of this, crabgrass tends to appear more in the very late spring to early summer. If you are seeing nuisance grass early in the spring, it is likely quackgrass or tall fescue, not crabgrass. To control crabgrass, spread a granular pre-emergent weed control in the early spring (mid-April through mid-May). The pre-emergent will prevent the new crabgrass seeds from germinating. If you seed your lawn in the spring, make sure that you do not put down crabgrass preventer until your grass seed has sprouted, as the pre-emergent will prevent your grass seed from germinating. If you already have crabgrass that has emerged, spot treat with a crabgrass killer. Crabgrass can also be hand-pulled as the root system tends to be shallow and the roots stay clumped together. Each crabgrass plant can produce 150,000 seeds, and these seeds can stay viable in the soil for years. It is important to try and control crabgrass as soon as you see it so that it does not have time to develop and spread its seeds.
Quackgrass
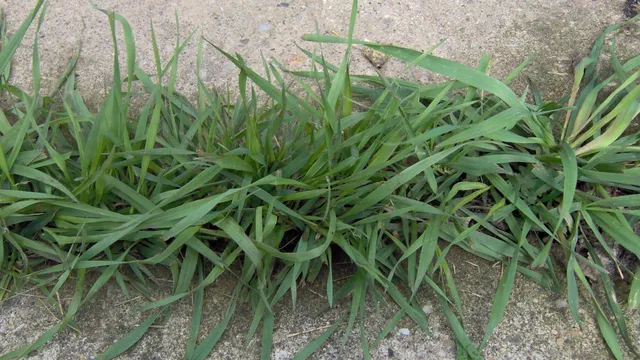
Quackgrass is a fast-growing, cool-season perennial that emerges in the early spring. Like crabgrass, quackgrass has wide grass-like blades, but quackgrass has a more upright, tall habit than crabgrass. Since quackgrass is a perennial, it comes back every year and spreads by both underground rhizomes as well as by seed. Quackgrass is a cool-season plant, which means that it will do most of its active growing in the cooler seasons (spring and fall), and you will likely see quackgrass begin to pop up in the early spring. Quackgrass can only be treated with herbicides that contain glyphosate, like Roundup. These products will also kill the surrounding grass, so plan to reseed areas that you treat for quackgrass. Because of the extensive root system of quackgrass, hand pulling is often time-consuming and may not be as effective as chemical herbicides. If you decide to hand-pull your quackgrass, try to get as much of the root system as possible, as any rhizome missed can grow into a new plant. It is important to try and treat quackgrass as soon as possible, as quackgrass is an aggressive weed that can quickly take over an area. Quackgrass rhizomes can also produce a chemical that stunts the growth of surrounding plants, allowing the quackgrass to outcompete turfgrass.
Tips
Quackgrass and crabgrass both thrive in weak or thin lawns, so promoting a healthy, thick lawn with a deep root system can help prevent or lessen issues with weeds. Below are a few tips on how to keep your lawn full and flourishing.
Water properly: Industry experts recommend watering your lawn only once or twice a week. Both overwatering and underwatering can lead to weak lawns and can encourage the spreading of weeds.
Mow at the correct height: Allowing your lawn to grow taller can help your lawn grow thicker and develop a stronger root system. Taller grass shades out weed seeds and keeps your soil temperatures cooler which decreases the chances of seeds germinating. Experts recommend keeping your lawn between 3” to 4” tall and removing no more than 1/3rd of the leaf tissue when you mow.
Fertilizing: When used correctly, fertilizers can be an amazing tool to help you improve and maintain a lush lawn. Fertilizers are important as they supplement the soil with important nutrients that are often lost when clippings are removed when mowing. For lawns, look for a fertilizer with a higher concentration of nitrogen, as this is the nutrient that most lawns lack. To prevent burning, always make sure to follow the label directions and water after applying fertilizer (unless the label says otherwise).
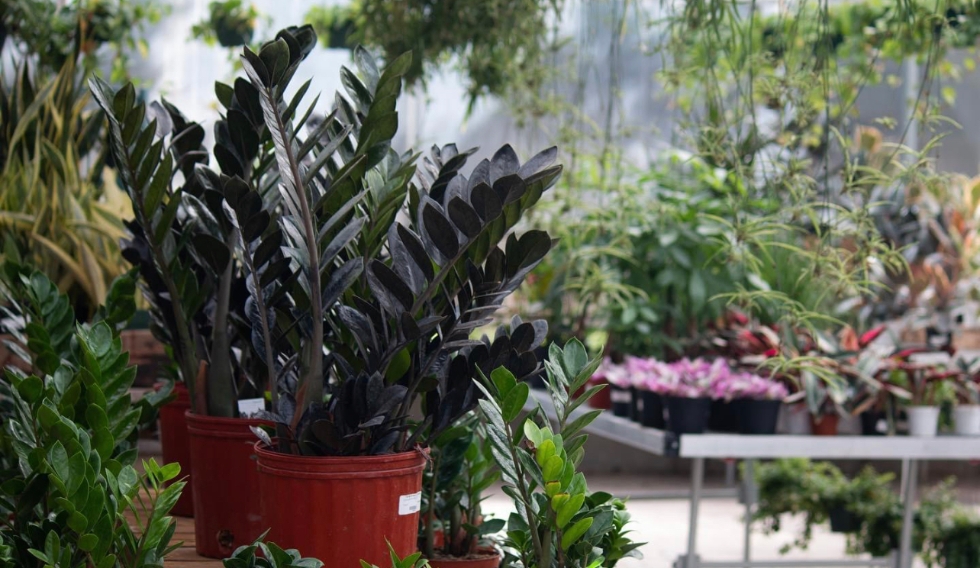
After the cold winter months, we are all ready for some fresh air and warm sunlight, including our houseplants. In their native environment, many of our favorite plants grow on the forest floor or in the desert, which means any of your plants can go outside with the right conditions. While the warm temperatures, humidity, and monthly fertilizing will help them flourish during the growing season, there are a few things to keep in mind before starting their summer vacation.
Acclimating
Acclimating your plants over 10-14 days outdoors can prevent any stress by slowly adjusting your plants to the change in humidity, temperature, and light conditions. It is recommended to start any plant in the shade for an hour or two at a time and slowly increase the time as the days go on. The cool, early morning sun is okay after the plant has adjusted outside for about two weeks but avoid the hot afternoon sun. Even sun-loving plants need to adjust to prevent sunburn!
Temperature
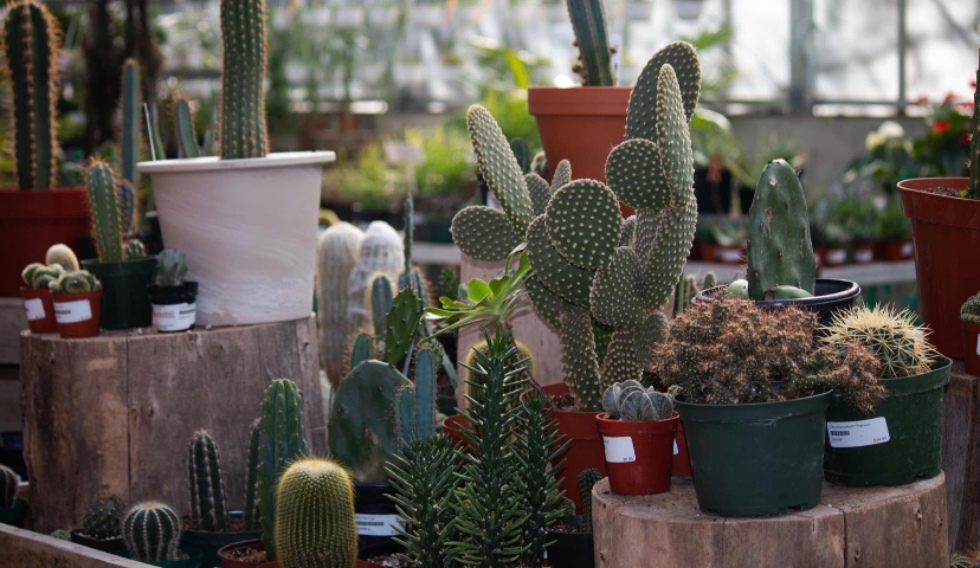
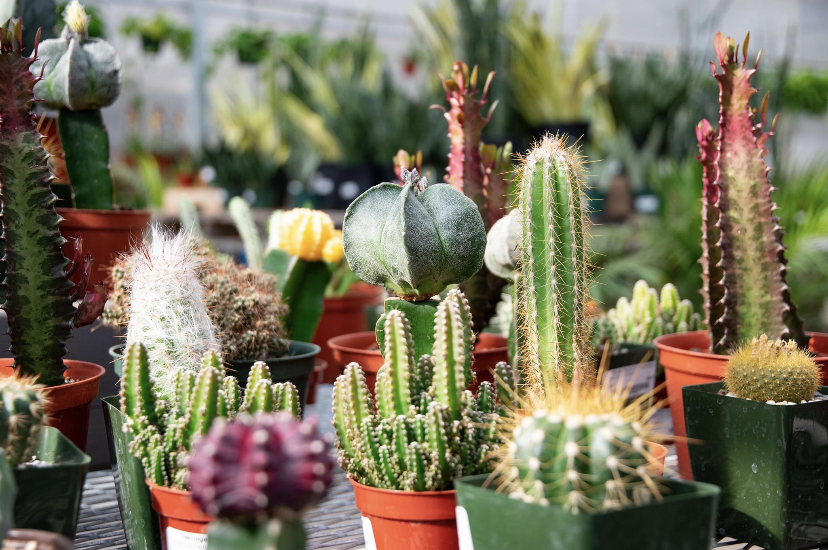
Tropicals, cactus, and succulents can be sensitive to temps below 50℉ as it can stunt their growth or potentially cause damage. It is important to watch the weather in the spring as we typically have cool nights and warm days. You may have to move your plants indoors on cool nights and back outdoors during the day. Once the weather is consistently above 50-60℉, it is safe to leave your plants outside!
Location
While you may have the perfect spot on your front porch, sunlight, rain, and wind are some factors to think about when choosing an outdoor location. The intense, direct sunlight outdoors can burn some plants’ tender foliage so it is best to place your plant in a shady or mostly shady location. Plants such as Banana Plants, Birds of Paradise, and most cacti can handle full sun but they still need to be gradually acclimated. In the Midwest, we have plenty of wind that can snap stems or blow plants over. While your plant won’t die from a snapped stem, preventing damage will keep your plant looking big and beautiful.
Adjust your watering
Light, temperature, wind, and humidity can change the frequency of watering.
Higher temperatures, wind speeds, lots of light, and low humidity will cause your plant to absorb more water and dry out faster.
Low temperatures, little wind, shade, and high humidity will cause your plant to retain more moisture.
It is always recommended to check your soil before watering and not watering on a schedule as plants needs can vary. If your plant is hit by rain, rainfall over 1” is sufficient to thoroughly water. Any less rain and you may have to additionally water to ensure deep watering.
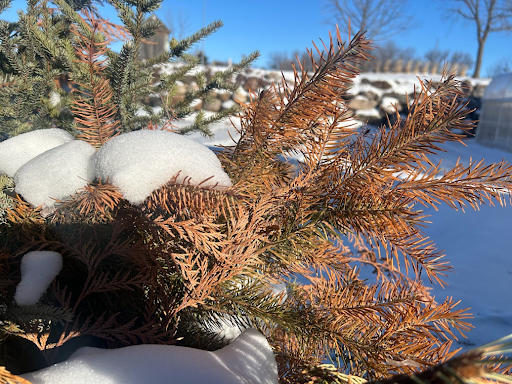
As the weather warms up and the snow melts, some people may notice browning on parts of their evergreens. This browning is caused by winter desiccation also known as winterburn. Winterburn damage can range from mild cases, that just need a little pruning, to severe cases that can lead to the death of the plant.
Causes
In the winter when the ground is frozen, evergreen plants are unable to replace the water that is lost through their foliage. This loss of moisture leads to the browning and death of the foliage. Many factors can contribute to an increase in water loss and lead to winterburn damage including:
Lack of moisture during the growing season: Evergreen plants that go into the winter already stressed from a lack of moisture are more likely to suffer from winterburn.
Age of the plant: Young or newly planted evergreens do not have as established of root systems compared to older evergreens. This can exacerbate winterburn problems since these plants cannot draw up as much water from their roots.
Extreme winter conditions: Harsh winter sun and extreme wind can result in extra foliage moisture loss. This is why you will typically see winterburn on the south side of trees or in trees that are planted in unprotected areas. Extreme temperature fluctuations in the winter can also contribute to winterburn damage.
Lack of snow cover: Snow cover acts like an insulator in the winter and can help not only moderate the soil temperature, but it can also provide much-needed moisture in the early spring. When this snow cover is absent, evergreens are exposed to more extreme soil temperature fluctuations and overall drier soil conditions which can make them more prone to browning.
Late fertilization: Fertilizing evergreens in the fall can lead to a flush of new growth that is unable to harden off before winter arrives.
Treating Winterburn
Foliage that has already browned is most likely dead and will not green up again. This does not mean, however, that the entire branch is dead. In most evergreens, the buds are more cold-hardy than the needles and may still produce new growth in the spring. Mild cases of winterburn damage can usually be pruned out and after a few years, new foliage will fill in damaged areas. In severe cases where all or most of the tree is brown, the plant is unlikely to recover and should be replaced.
For arborvitaes, boxwoods, junipers, and yews, it is best to wait until mid-spring before pruning. This way you can see the new growth and can get a better idea of where to prune. When pruning, cut the branches back to the point where you begin to see new growth. If you are unsure whether the whole branch is dead, you can gently scratch the bark on the affected branch. If there is green underneath the bark, the branch is still alive and has the possibility of forming new foliage. If it is brown under the bark or if the branches are dry and snap easily, it is likely that the branch is most likely dead and should be pruned. It is always good to check your branches in multiple areas as the tips of the branches may be dead but further down there may be life in the branch.
Pines, spruce, and fir trees usually do not have to be pruned since the new growth at the tips of the branches will usually replace the damaged needles.
Prevention
While you may not be able to completely prevent winterburn, there are some steps that you can take to help reduce the risk and severity of winterburn.
One of the most important ways to help prevent winterburn is proper watering of your plants throughout the year. Proper watering is especially important in years where there are long extended dry periods. We want our evergreens to go into the winter well-hydrated so it is important to continue to water your plants up until the soil freezes. It is best to use a soaker or drip hose to water your evergreens as this ensures that the water is penetrating deep into the soil and reaching the roots. See our Watering 101 guide for more information about how to properly water your plants.
Picking the proper place for your evergreens can also help to prevent winterburn. Planting your evergreens in a protected area that is shielded from the drying winter sun and wind can help reduce the risk or severity of winterburn damage. Evergreens planted in unprotected areas can be wrapped in burlap to protect them through the winter. Wait to wrap your trees until the temperatures are in the mid-30s and be sure to remove the burlap when the temperatures begin to heat up in the spring to avoid overheating your plants.
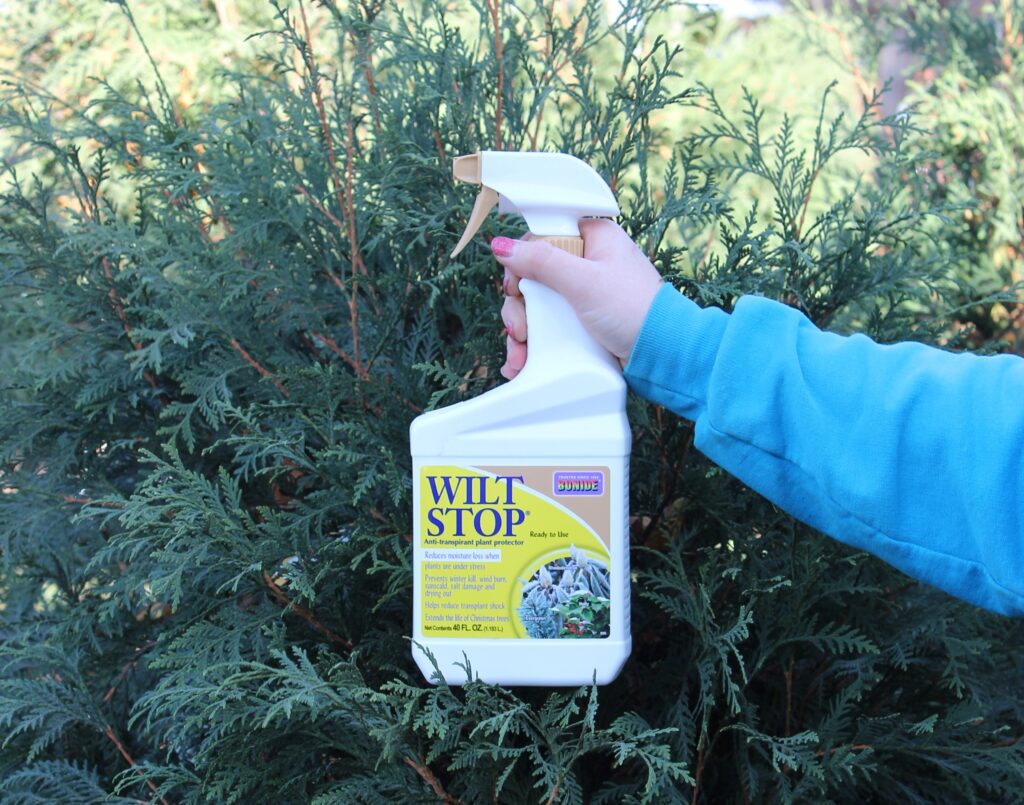
Another way to protect your plants is by applying an anti-desiccant or anti-transpirant spray. These sprays create a protective coating on the evergreen needles that helps to lock the moisture in.
Lastly, avoid pruning or fertilizing your evergreens in the fall. Both pruning and fertilizing can lead to a flush of new growth that is unable to harden off before the freezing temperatures arrive. This tender new growth is at high risk of winter damage.
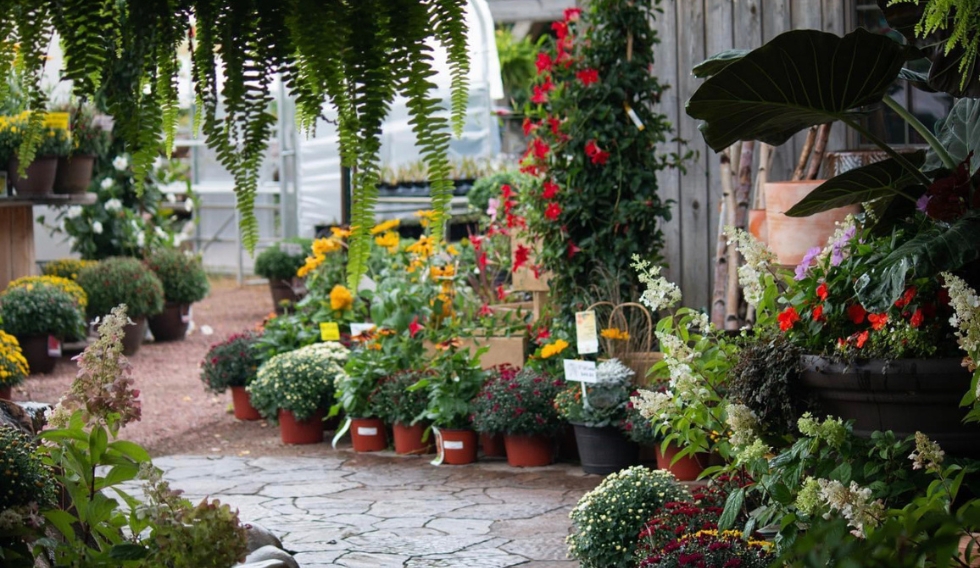
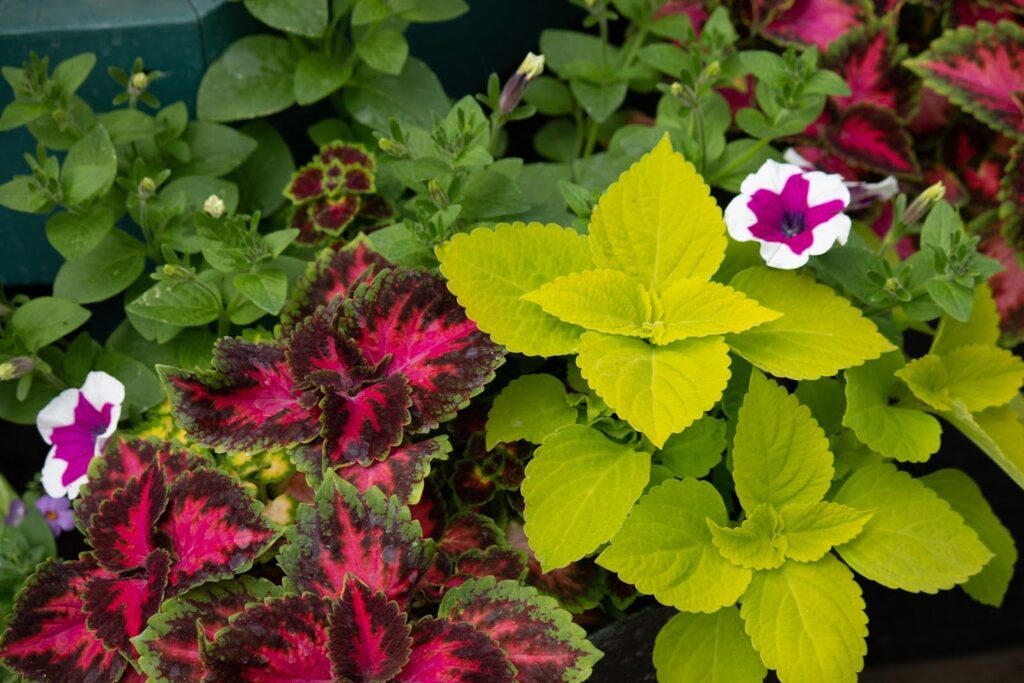
For many people, spring means a trip to the greenhouse to pick out a hanging basket or planter full of colorful blooms to enjoy all summer. Before you know it, the planters aren’t as colorful as the day you bought it. Below are some of our best tips to refresh your planter and keep them blooming all summer long.
Deadheading
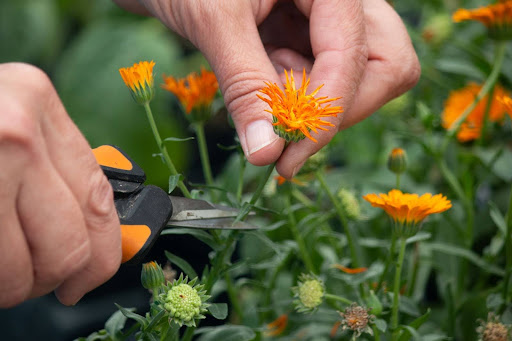
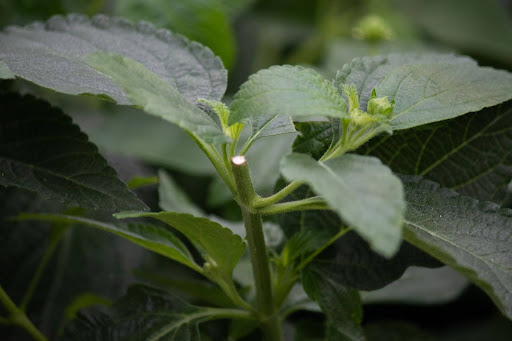
First of all, it’s important to know just because your planter isn’t as full and colorful, doesn’t mean you are necessarily killing it. Each bloom only lasts so long and deadheading is needed to help promote new blossom growth. Deadheading is the process of removing the dead flowers or foliage. To deadhead, simply pinch or cut the spent flower off to about a ¼ inch above the nearest set of leaves. Be sure to cut far enough down to avoid a dry and unattractive stem sticking out above the leaves. As you deadhead you may even see some new growth ready to emerge. Dead or damaged foliage can also be trimmed out to keep your basket or planter looking its best.
Fertilizing
In addition to deadheading, it is vital to fertilize once every two weeks to keep your planters blooming. While it might seem overwhelming to chose a fertilizer with all the different options, below are a few tips that can help you pick out the perfect fertilizer for your needs.
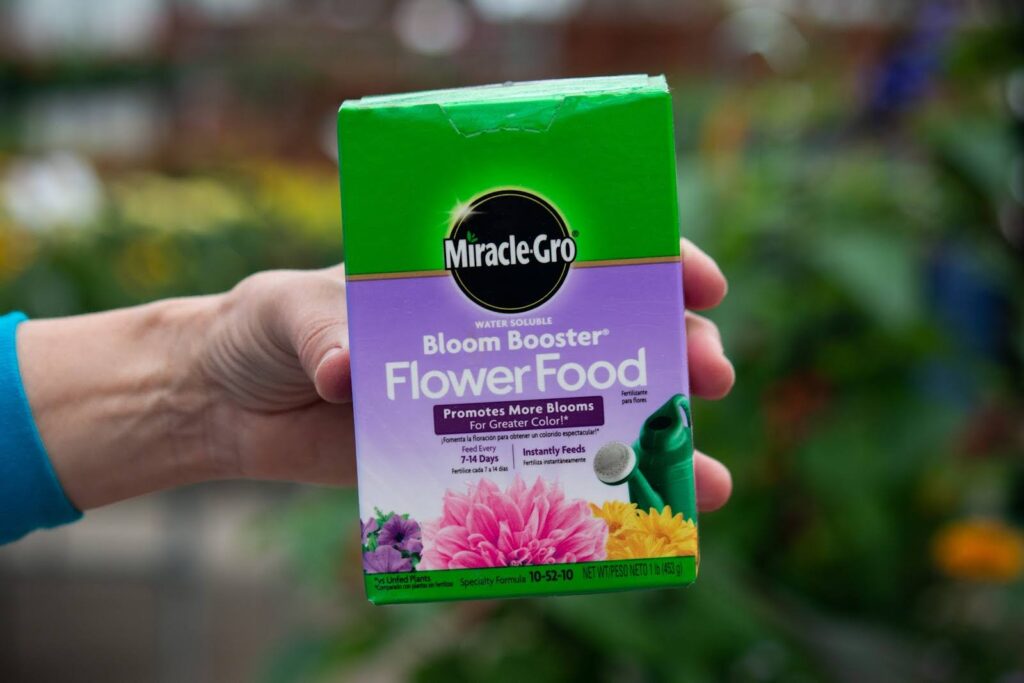
When you are looking at fertilizers you may notice a series of three numbers listed on the front (10-52-10 for example). These numbers, called the NPK, indicate the levels of nitrogen, phosphorus, and potassium within the fertilizer. For planters and hanging baskets, we recommend using a fertilizer that is high in phosphorus (high middle number) as this will help promote the development of new blossoms. One of our favorite high phosphorus fertilizers is Miracle Gro Bloom Booster.
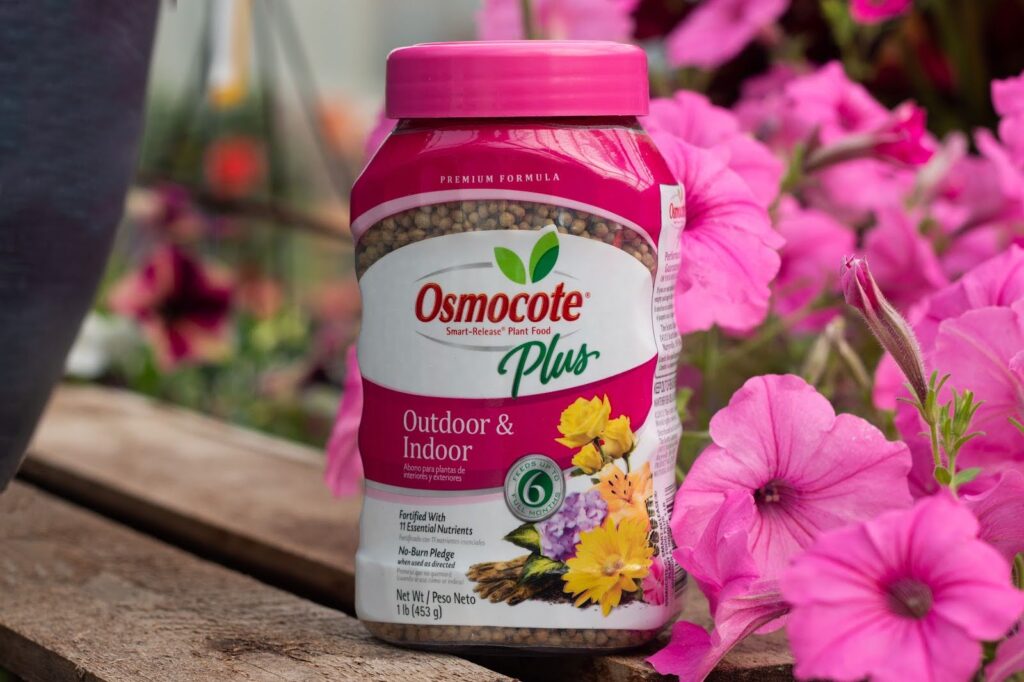
Fertilizers have two methods of delivery: quick-release and slow-release. Quick-release fertilizers are mixed with water that is used to water your planters. These fertilizers are absorbed quickly and you will see the results sooner than other fertilizers. Quick-release fertilizers will need to be mixed and applied all season long to continue seeing blooms. Slow-release fertilizers, on the other hand, are pellets that are spread on top of the soil in the pots. These pellets then slowly release fertilizers throughout a 3-month period. Slow-release fertilizers, like Osmocote, are a great option for planters that won’t receive much attention or for those who don’t want to measure and mix their fertilizers every two weeks.
Watering
The third and final tip for keeping your annuals looking good is proper watering. Many factors such as wind, sunlight, temperature, and humidity, play a role in how often each planter needs to be watered. As a general rule, annuals should be watered once a day or every other day depending on the size of the planter. It is always important to check your soil before watering as some planters may not dry out as fast compared to other planters. If the soil is still wet, wait for the soil to dry out before watering. Proper watering is important as too much water can lead to root rot problems that will stress your plants and eventually lead to death. Too little water and your annuals will begin to shrivel up and dry out.
After a warm summer season, any houseplant you may have had outside needs to be acclimated to your home’s temperature, lighting, and humidity. While you won’t kill your plant by just tossing it inside, acclimating it can help prevent shock and give you time to locate and treat any pests that may be tagging along.
Acclimating
Most houseplants, succulents, and cacti prefer to be kept in temperatures above 50℉, so it’s a good idea to keep an eye on the nighttime temperatures in the fall. If the nighttime temps begin to dip into the 50s, it is time to begin transitioning your plants indoors. It is recommended to begin adjusting your plants to indoor conditions over a 7-10 day period to prevent shock. On the first day, you want to bring your plant indoors in its designated spot for an hour or two before returning it back outside. You will then want to gradually increase the number of hours your houseplants are indoors every day. By the end of the 7-10 day period, your plant will be acclimated to its new environment and you can leave it in its spot all day long. As your plant adjusts to its new home, it is not uncommon for it to drop a few leaves.
Pests
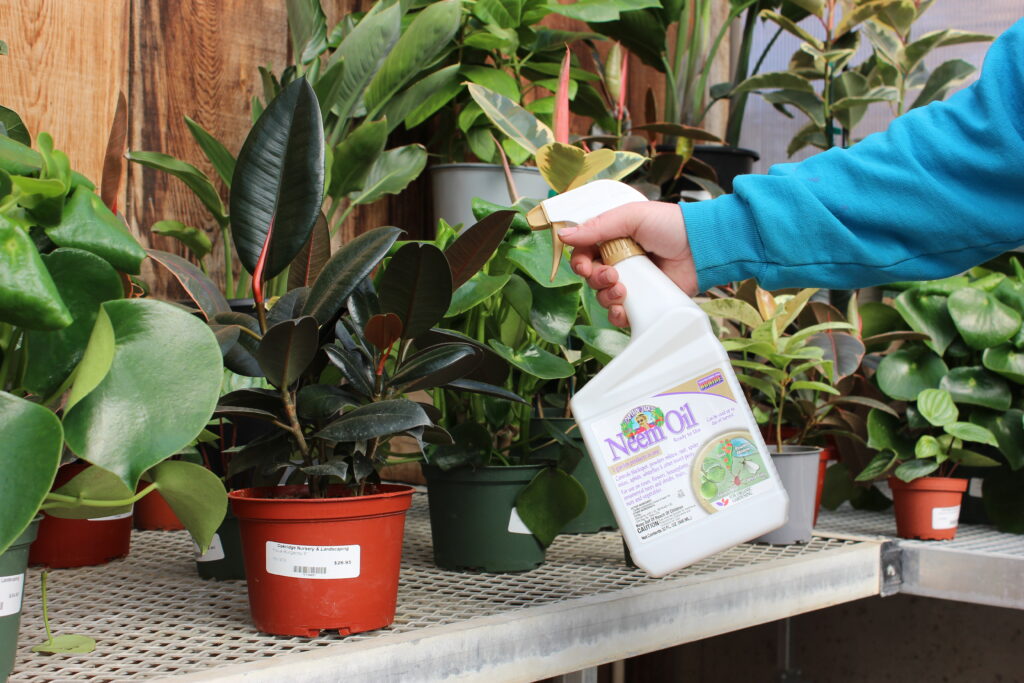
While your plants were enjoying their time outside, some pests may have found a new home in your houseplants. These pests love to hide on stems, under leaves, or in small crevices so it is always a good idea to do a thorough check-through of your plant. Any visible pests should be treated before bringing your houseplants indoors to prevent bringing these pests into your home. Mealie bugs, spider mites, and aphids are some common pests that can be treated with neem oil, insecticides, etc. Even if you can’t see any pests, it is a good idea to treat your houseplants anyway to reduce the risk of pest problems during the winter. While pests won’t disappear completely after the first treatment, sticking with the product’s recommended treatment schedule and doing thorough check-throughs of your plant throughout the fall and winter is important to prevent any infestations.
Location
As we have fewer hours of sunlight in the winter, it is important to find the correct light requirements for your plant’s needs. Desert plants, such as cacti and succulents, will prefer bright direct lighting while other plants, like pothos and monstera, will thrive in more bright indirect light. It is important to familiarize yourself with your plants and their lighting needs. If there is not sufficient lighting, over time you will see plants start to get etiolated (pale and stretched out due to lack of light). If this happens, you can find a brighter location or you can supplement with grow lights. Not sure what kind of light you have in your house, check out our houseplant lighting guide.
Another thing to take into consideration when choosing your location is drafts and vents. It is best to avoid putting your houseplants near any drafts, doors to the outside, leaky windows, or vents as these places can cause temperature fluctuations that can stress your plants. This stress can lead to your houseplants dropping leaves and looking overall unhappy.
Adjust your watering
Now that the growing season is over, your plants will begin to slow their growth or even go dormant during the winter months. As the growth slows, your plant will begin drawing up less water and thus you will have to water your plants less often. It is always recommended to check your soil before watering instead of sticking to a strict watering schedule. Look out for common signs of over-watering such as yellowing leaves and fungus gnats. If you see these signs, allow more time between watering so that your plant can sufficiently dry out. As your plant’s growth slows it will also begin to take up fewer nutrients. Because of this, you can reduce your fertilizing over the winter months. You can either dilute your fertilizer or you can stop fertilizing until the spring months.
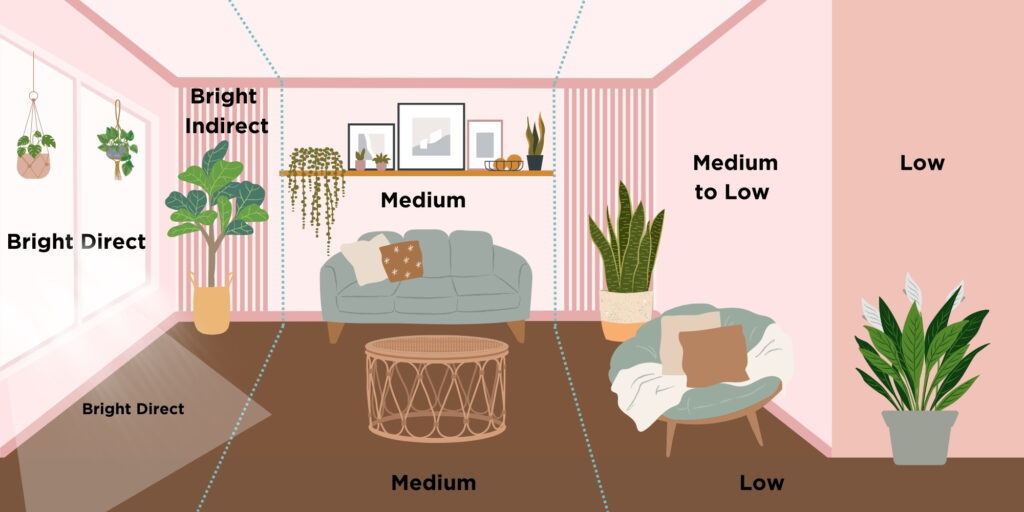
One of the keys to success with houseplants is having your houseplants in the proper light. Too much light and your plant leaves may sunburn while too little light and your houseplants may not bloom or grow. Finding the perfect light level for each plant will help your houseplant collection thrive.
Direct vs. Indirect Sunlight
Direct sunlight is when sunlight directly shines on the plant with nothing to block or filter the light. Grow lights can be used to create direct light if your home doesn’t have enough direct light to support your houseplant collection.
Indirect sunlight is when something in the path of the sunlight filters or diffuses the light before it reaches the houseplant. Sheer curtains, furniture, or even a tree outside your window can create indirect lighting. Being next to a window but not in the direct line of sunlight would also be considered bright indirect lighting. There are three types of indirect sunlight that you may come across in your home.
Filtered sunlight refers to direct light that is filtered by either a tree outside the window or by curtains/blinds in the window.
Indirect sunlight refers to when you have a plant that is in an area that receives bright sunlight but the plant itself is shaded either by another plant or a piece of furniture.
Partial Sunlight refers to when the light is direct only for a few hours during the day. This type of sunlight is very common for east-facing windows where there is direct sunlight for a few hours in the morning and then the rest of the day is indirect sunlight.
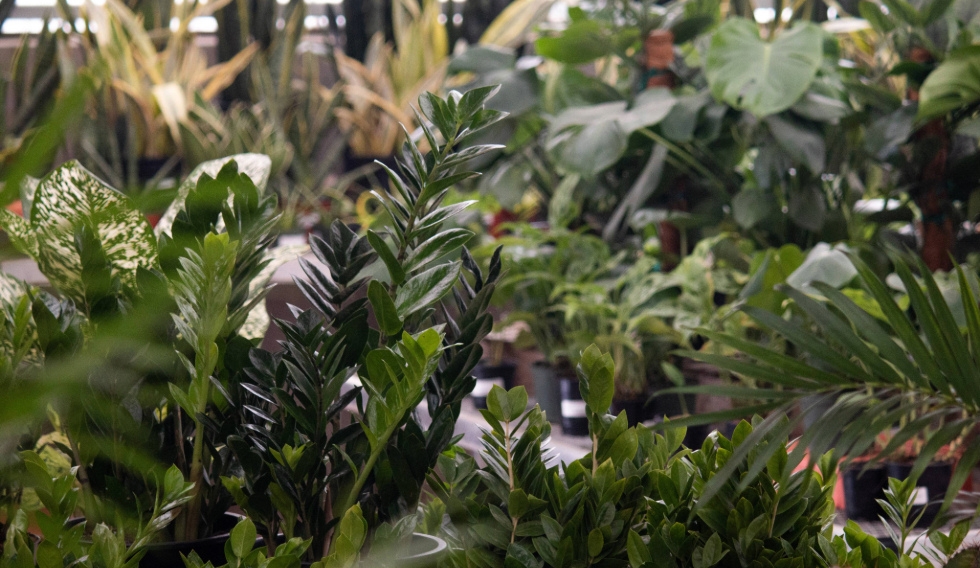
Lighting Levels
Every houseplant requires a different amount of light to grow and thrive. Some houseplants, like ZZ plants and snake plants, can tolerate multiple levels of light while other plants are very particular about their light levels. Becoming familiar with your houseplants and the proper level of lighting needed will help you succeed as a plant parent.
High Light- Houseplants that require high light levels need 6+ hours of direct or indirect sun exposure. Some plants that fall into the high light category include: succulents, cacti, fiddle leaf figs, and crotons. While high light plants can tolerate a lot of direct sunlight, always keep an eye out for sunburn on the tips of their leaves. South-facing and West-facing windows are great for high light plants as they provide the most direct sunlight during the afternoon hours when the sun rays are the strongest.
Medium Light- Houseplants that require medium light conditions can tolerate some direct sunlight, but they usually prefer to have indirect light. Some medium-light houseplants include: pothos, dracaena, ficus, monstera, and scheffelera. East-facing windows are great for medium-light plants as they will get a few hours of direct sunlight in the morning and indirect sunlight in the afternoon.
Low Light- Houseplants in this category do not require much light. These plants are perfect for rooms that have few windows or rooms where the blinds are often closed. While these plants do not require much light they do still need some light to grow. Low light tolerant houseplants include: peace lilies, ferns, and ZZ plants. North-facing windows are great for low-light plants since they get low to no hours of direct sunlight. *Note while some plants may tolerate low-light conditions they will not grow as big or as fast as they would in medium light.
Where to Place Your Plants
Now that we understand the different light levels, we have to determine where these light levels are in your house. The best way to determine light levels is to walk through your house at various times throughout the day and note where the light is falling. This will help you to determine where the direct sunlight is and how many hours of direct light is available. You can also broadly determine the light levels of your house based on the direction that the window faces. South and West-facing windows provide lots of bright direct light for high-light plants while east and north-facing windows provide indirect light that is great for medium and low-light plants. If you are determining your light levels based on window direction make sure to take into account other factors such as furniture, curtains, and outside trees to make a better determination of the light levels.
About Watering
Every plant requires three things air, soil, and, most of all, water. Proper watering is the key to healthy and beautiful plants as homeowners lose far more plants to overwatering than for any other reason. Overwatered plants are unable to uptake oxygen through their roots and are susceptible to issues such as root rot that, if severe, can cause death of the plant. Underwatered plants, however, are unable to absorb nutrients and water leading to wilting and eventually death.
How Much Water
Many factors play a role in how much water each specific plant needs. These factors include, but are not limited to: plant variety, temperature, humidity, wind, soil type, and soil condition. It is important to always check your soil before grabbing your hose or watering can. If the soil is still wet, wait to water until the soil is dry. We recommend digging down a few inches into the soil to check the moisture level. Sometimes the top of the soil may be dry but when you dig down a few inches, where your plant’s root system is, the soil may still be wet.
Below are our general watering guidelines for newly installed plants:
Trees: Once every two weeks, five to seven gallons of water
Shrubs: Once a week, three to five gallons of water
Perennials: Once a week initially, one gallon of water
Annuals: Once per day or every other day depending on the size of the planter.
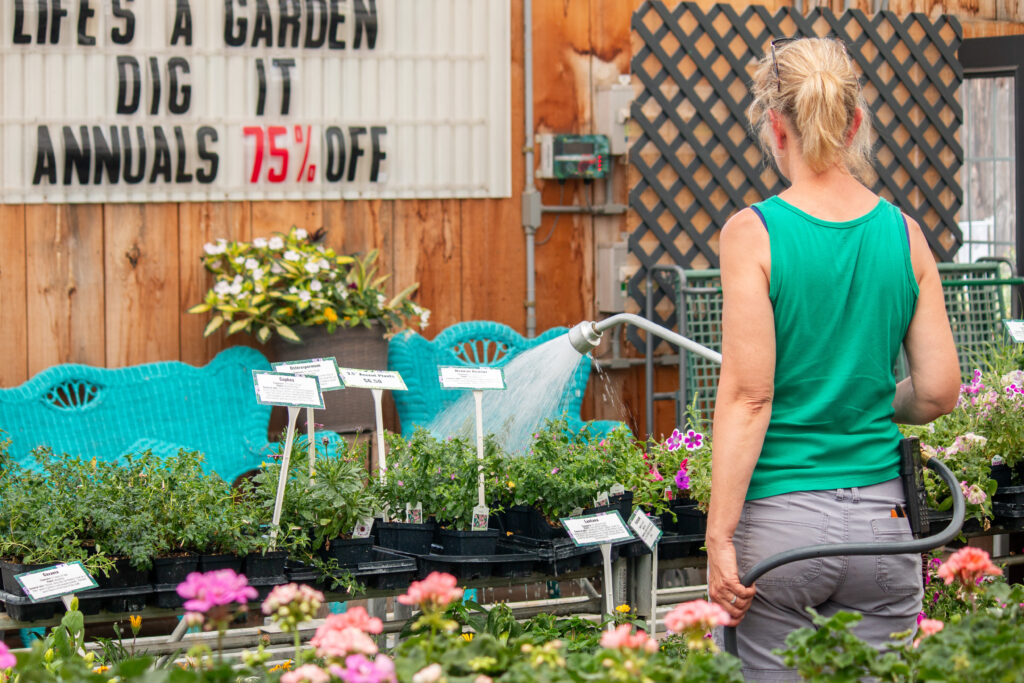
Sprinkler Systems
Homeowners are under a mistaken assumption that their lawn needs frequent watering to maintain a healthy green color. Ideally, industry experts recommend running a sprinkler only once or twice a week. Watering your lawn frequently leads to a lawn with a shallow, weak root system since the roots don’t have to go searching for water. This leads to your lawn becoming dependent on a consistent water supply and causes your lawn to be susceptible to browning and dying during hot, dry conditions. If you have sprinklers that hit your landscaping plants, make sure to check your soil before doing any additional watering.
Watering Tips
A good deep watering less often is better than watering a little every day. It is suggested to begin deep watering early on with new plants. Plants that have frequent, shallow watering tend to develop a more shallow and weak root system compared to plants that have less frequent, deeper watering. Plants with strong, extensive root systems are better able to handle stress and drought conditions.
Always test the soil before you water. Some plants can look droopy because of the heat, and not necessarily because they are dry. Make sure the soil is dry before watering.
It is better to err on the side of keeping your soil too dry rather than too wet. The soil needs to dry out between watering for plants to be able to absorb oxygen and live. Consistently wet soil can lead to issues with root rot and other diseases that can eventually kill your plants.
If it rains more than one inch, there is no need to water. Count the rain as your watering day and start your watering cycle over.
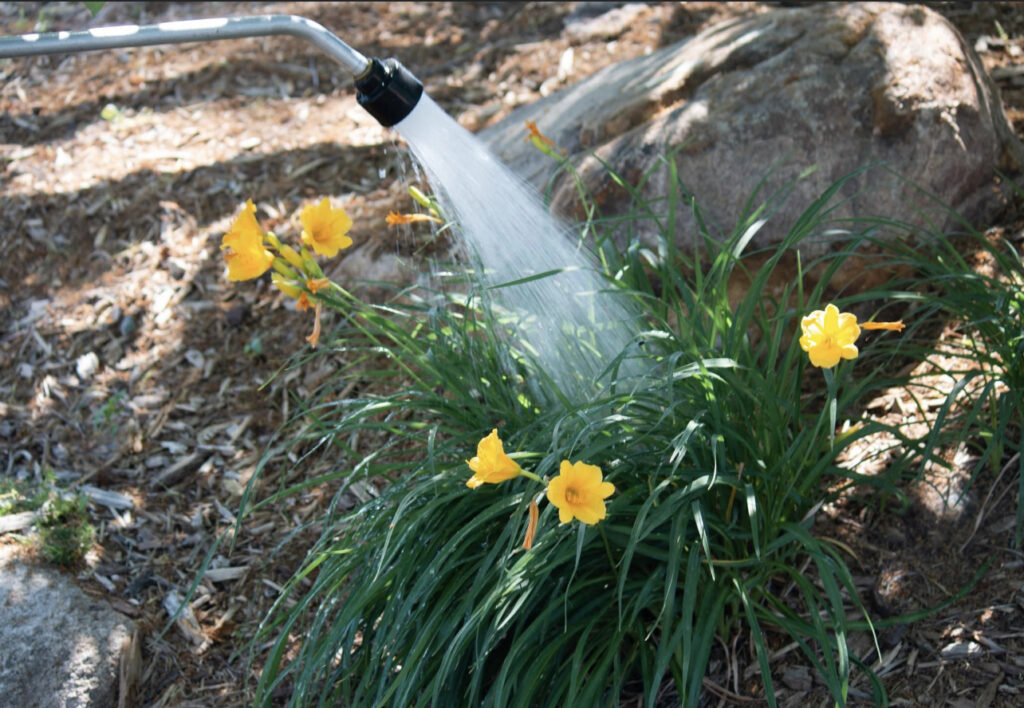
Water plants at the base not over the top. Watering on top of the leaves can promote fungus and other leaf diseases. Also, putting super cold water on leaves when it is how outside can damage your plants.
The best time of day to water is in the morning. If you can, water your plants in the morning. That way, they have time to soak up the water before the heat of the day. This also allows them to not stay wet overnight, which can lead to fungus and disease problems.
Some plants need more water than others. Become familiar with your landscape and learn which plants need water more often than others.
Although it isn’t officially fall until late September, once school starts we know we all start to transition seasons.
The leaves start changing and the temperatures get a little lower, giving us more energy to get things done we’ve been putting off during the 90+ degree days.
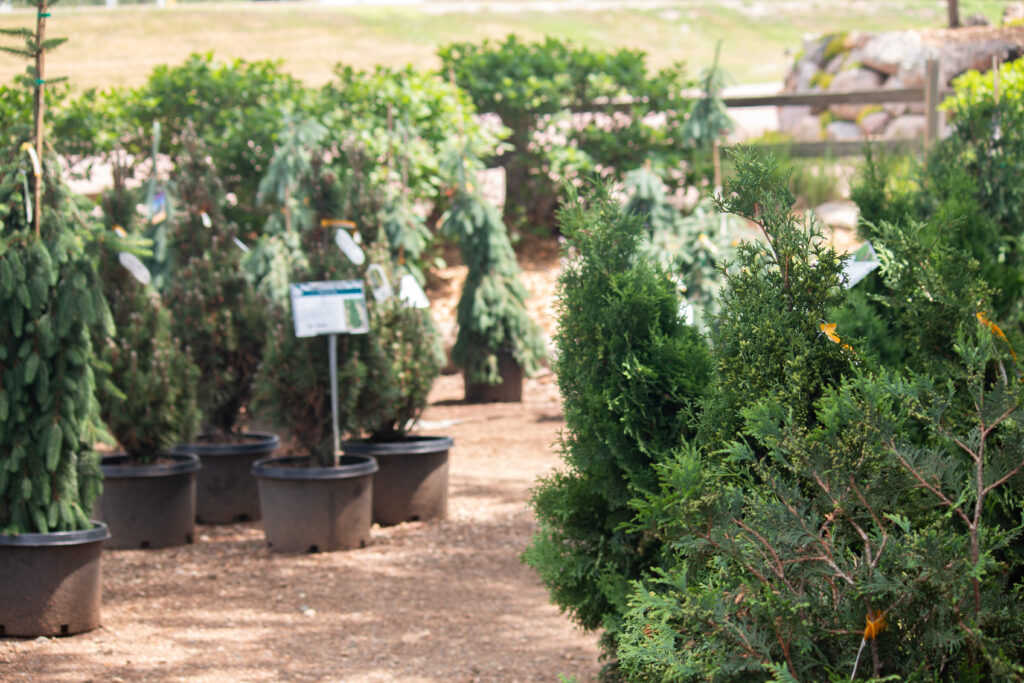
SO WHAT ABOUT INSTALLING NEW PLANTS?
Believe it or not, fall is an incredible time to get your planting done. The soil is still warm while the air is cooling down which allows the plant to focus on root development.
Trees and shrubs can be planted through October, whereas perennials should be planted by the first part of October to give them enough time to establish their roots before hitting freezing temperatures.
While fall is often cooler and rainy, newly installed plants shouldn’t be forgotten when it comes to watering, especially if it is hot, dry or windy. Before you pull your hoses in for the winter, Continue to water perennials once a week (1 gallon), shrubs once every 7-10 days (3-5 Gallons) and trees once every 10-14 days (5-7 Gallons) until the ground freezes.
Don’t be alarmed when you don’t see growth on your new plants, that’s actually a good thing. We do not recommend using fertilizer past the beginning of August, but would suggest using a root stimulator instead.
Fall planting is with the intention of root development and getting off to a good start in their new home. Come spring, your plants will grow as if they’re already had a full season under their belt.
WHAT ABOUT MUMS?
Well, mums are a little tricky to overwinter in the midwest (Yes, even Hardy Mums). They add great color in your planters after the summer annuals are done thriving. However, if you plan on planting them in the ground, make sure to plant early and add a protective barrier around the base of the plant with mulch or leaves to insulate the root system during the winter months.
In fact, we recommend adding a layer of mulch around the base of all plants for extra insulation, even established plants benefit from the protection.
The dog days of summer, when temperatures reach their peak, are here. Help save your drooping flowers from the heat of summer by being proactive, and get the best yield possible from your plants by refreshing the fertilizer in your pots, garden and lawn.
At Oakridge Nursery, we carry only the finest fertilizer from Fertilome. We have a variety of types on hand, including slow release fertilizer, which produces maximum yields slowly, over the course of three months, and fast-acting water soluble fertilizer, which gets into the root system quickly.
This time of year, your tired plants could use a boost of phosphorus to promote full color, blooming and fruiting well into the fall! We have the know-how and the fertilizer you need to do just that.
Give your garden, plants and lawn the boost they need, and maximize their performance during July and August, when the summer sun is hottest.
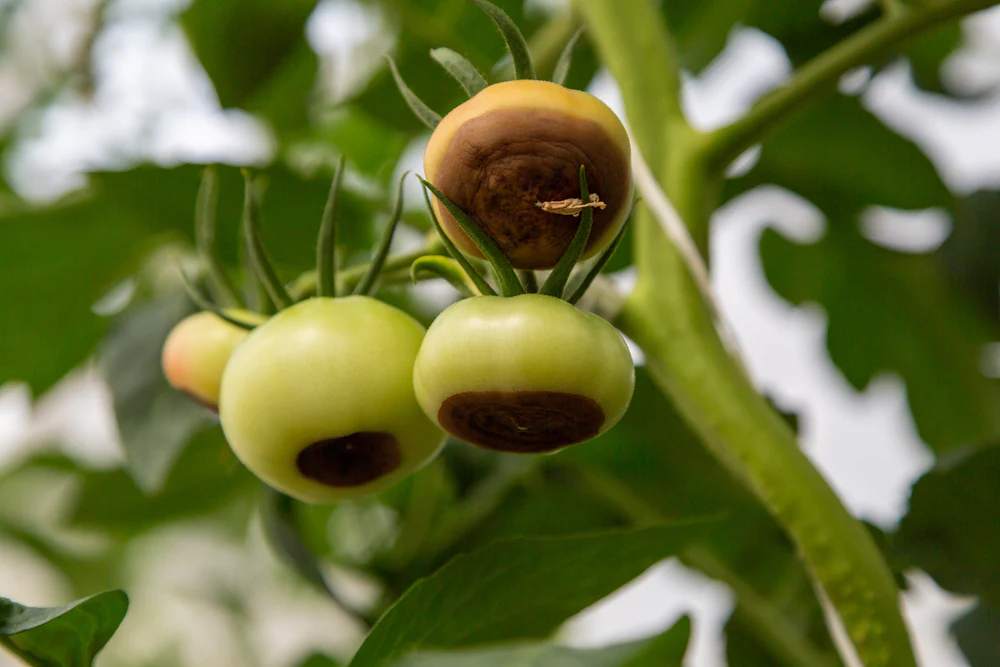
Whether you grow them in attractive tubs on your patio or in a full-scale vegetable garden, you know there’s nothing better than the flavor of a home-grown tomato. BLTs, tomato jelly, salsa, and hamburgers topped with a big tomato slice…that’s the true acknowledgment that summer is here. But each year, home gardeners, waiting eagerly for their tomatoes to ripen, are faced with annoying tomato diseases and environmental stresses. The most common is blossom end rot.
Blossom end rot shows up as a water-soaked brown or black spot on the blossom end of the fruit. These spots enlarge rapidly and may grow together forming extensive areas of damage. Affected areas are commonly invaded by secondary fungi and bacteria that cause soft rot and fruit decay.
Blossom end rot commonly occurs when plants have grown rapidly and luxuriantly during the early part of the season and then are subject to fluctuation in moisture (too much or too little) when the fruits are at an early stage of development. These fluctuations or an excess of nitrogen fertilizer causes a lack of calcium in the developing tomato.
To control blossom end rot, mulch and water plants during dry spells to maintain uniform soil moisture levels. Avoid excessive use of nitrogen fertilizers or large quantities of manure. Plant tomatoes in well-draining soil and do not cultivate deeper than one inch within one foot of the plant.
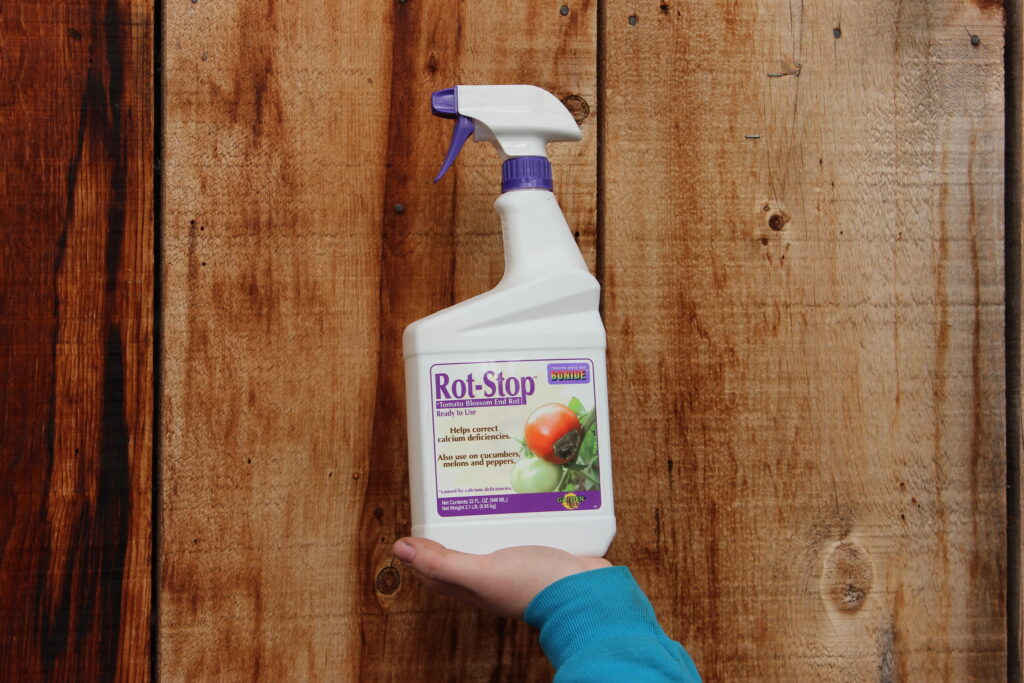
Calcium sprays, such as Rot Stop, can be applied as a preventative measure or can be sprayed at the first sign of disease. If you have a lot of tomato plants and don’t want to deal with the hassle of spraying them all, slow-release tomato-specific fertilizers that are high in calcium can be applied to your garden beds. Looking for a more organic option, you can crush up eggshells and sprinkle them around your garden bed to give your tomatoes a much-needed source of calcium.
Blossom end rot is found wherever tomatoes are grown. The rotted areas are unsightly but the unaffected part of the fruit is edible. Blossom end rot usually disappears after the first group of tomatoes matures.