If we’ve learned anything about South Dakota it’s that we can never predict what weather spring will bring. While a forecast of sunny days brings excitement, it also reminds us of the work we need to do to get our landscaping in tip-top shape. Below are our general checklists of tasks to get your landscape ready for the season to come.
April Checklist
Uncover and remove winter mulch from roses, spring bulbs, and perennials.
Divide and replant overgrown perennials as foliage begins to emerge.
Till flower and vegetable garden soil and add compost, peat moss, and any soil amendments.
Plant trees and shrubs as soon as the ground is thawed enough for digging; late frost and snow will not hurt newly planted trees.
Apply fresh mulch around trees, shrubs, and perennials for weed control.
Prune hedges and summer flowering shrubs; Make sure to check for winter damage and prune out broken branches. Do not prune any spring flowering shrubs.
Remove Tree wrap when the snow melts.
Fertilize trees and shrubs.
Fertilize spring bulbs when foliage emerges.
Cut back any of your perennials that did not get cut back in the fall. If you have a pollinator garden, wait until temperatures warm up before cutting back your perennials. Some pollinators won’t emerge until into May so the longer you can go before disturbing them the better.
Start your seeds indoors. Always check your seed packets for the seedling timing and keep in mind that our average last frost date is May 12th.
May Checklist
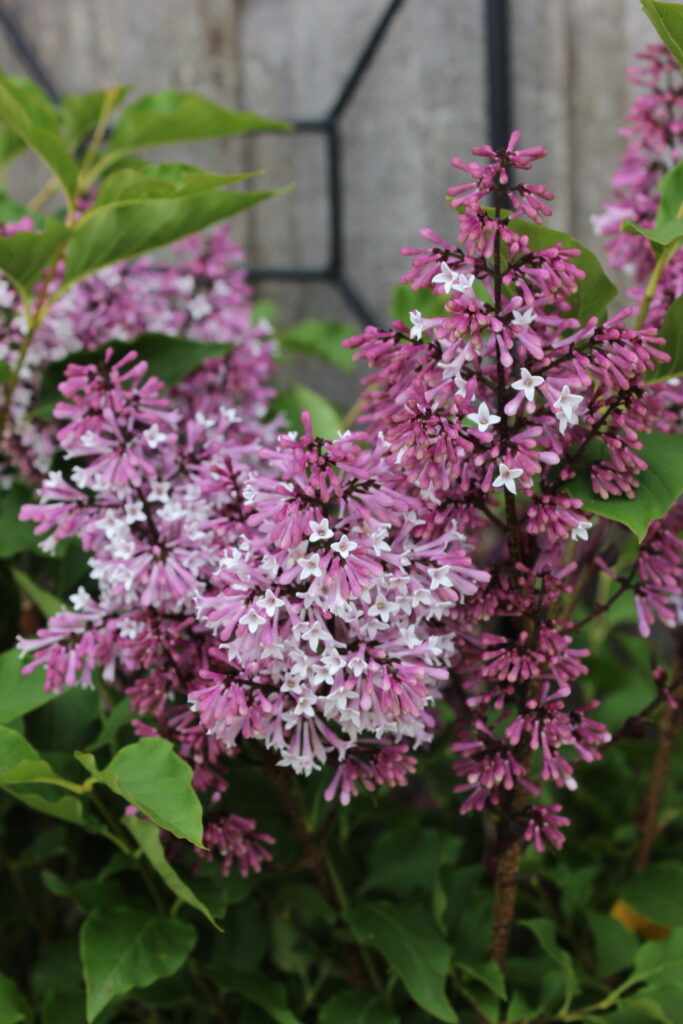
Apply crabgrass preventer to lawns. A good rule of thumb is to apply your crabgrass preventer when the lilacs are blooming.
Fertilize roses and begin preventative treatments to protect against black spot and mildew.
Mulch flower gardens to conserve moisture and reduce weed growth.
Install peony hoops and tomato cages.
Protect your garden from deer.
Plant summer blooming bulbs.
Plant annuals and vegetables after frost is no longer a danger. Our average last frost date is May 12th.
Apply pre-emergent weed control in planting beds.
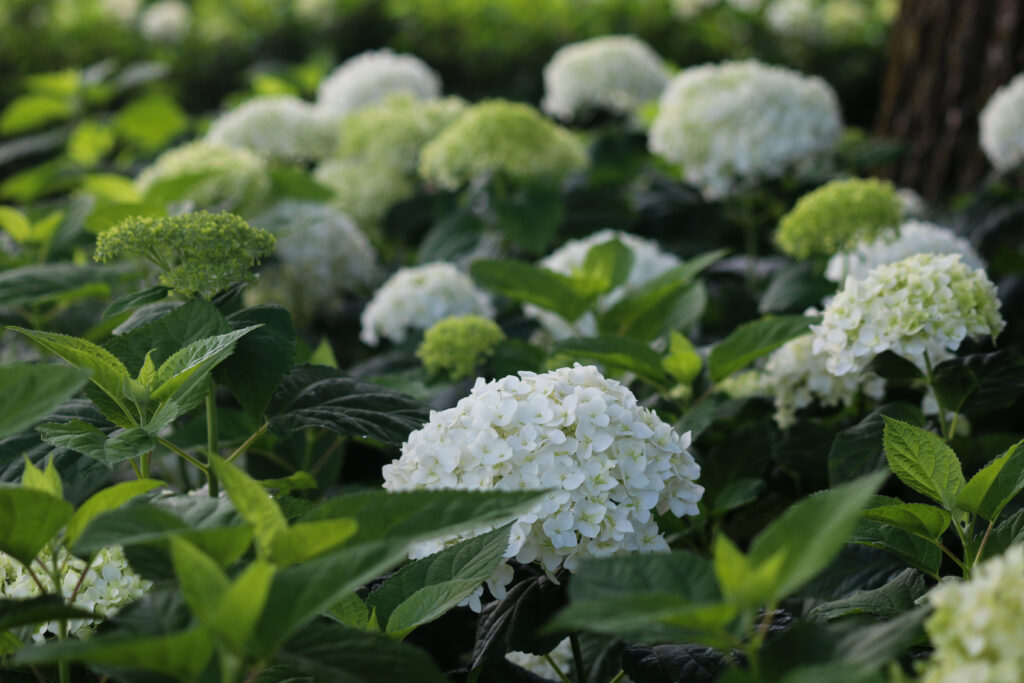
Prune all spring flowering shrubs, like lilacs and forsythia, right after they have finished flowering.
Water freshly planted trees, shrubs, and perennials. (see our Watering 101 page)
Fertilize established trees, evergreens, and shrubs.
Rake, overseed, and fertilize your lawn; avoid applying crabgrass preventer to newly overseeded areas; seed new lawns while nights are still cool and the weather is wet.
Spray weeds as they emerge and before their seed heads form.
While these checklists are broken down by month do keep in mind that weather can affect the timing of some of these tasks.
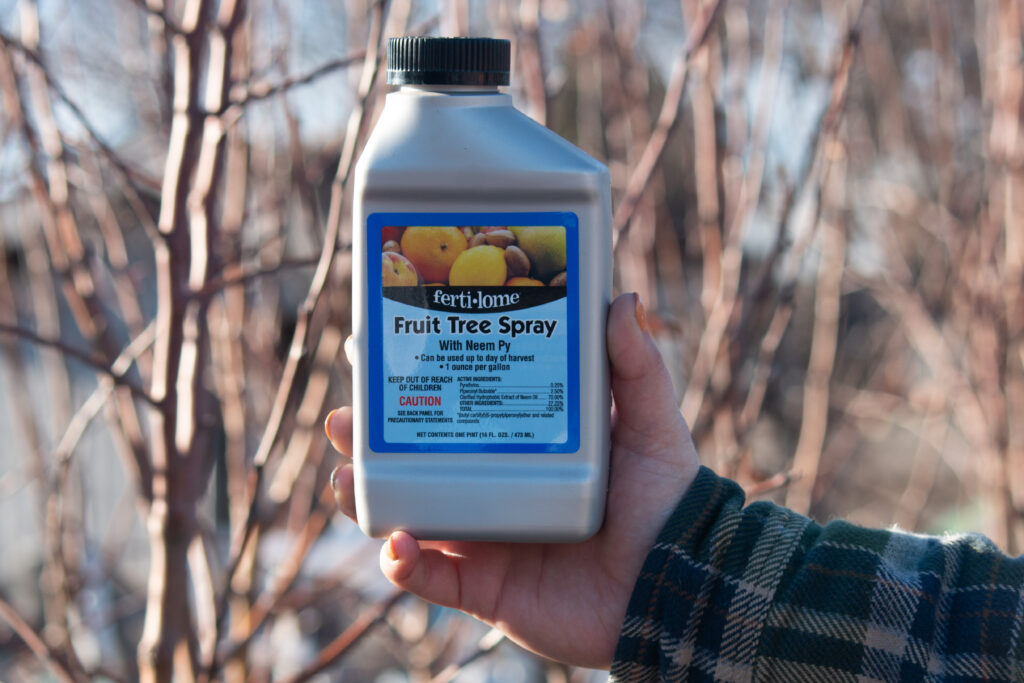
Fruit Tree Spraying
We recommend spraying all of your fruit trees with a fruit tree spray to help protect them from common pests and diseases. Three major applications are important to protect your fruit trees.
1st application: When the buds are pink.
2nd application: Right after the blossoms have dropped
3rd application: One month after the second application.
If needed, you can continue to spray your fruit trees once a month through the summer.
Check out these general summer care tips to make sure your lawn, garden and trees stay healthy and green all summer long. It has been a hot season, and now, more than ever, you need to make sure your garden and home landscape are getting the proper attention.
GENERAL SUMMER SEASON TIPS
Stake larger varieties of perennials such as delphiniums
Begin leaf spot control on tomato plants and stake young tomato plants; late staking contributes to blossom end rot
Tie climbing roses to trellises
Perform last picking of rhubarb at the end of the month to allow roots to store energy for the next season
Mulch you garden after the soil has warmed up later in the month
Fertilize lawns, flowers, and gardens
Continue weeding
Prune and shape new growth on arborvitae, juniper, and yew
Trim evergreens and hedges
Prune pines, spruce, and fir trees early to mid June
Pruning is an essential part of maintaining your shrub’s shape, vigor, and overall health. Mastering how and when to prune different shrub varieties will lead to beautiful, lush shrubs that you can enjoy all season long. Below is our general guide on when to prune, different methods of pruning, and tips for successful pruning.
When to Prune
For shrubs that bloom on new growth, it is best to prune them in either the late winter or early spring. When pruning these shrubs, the ideal time to prune is after the hard frosts have passed but before plants break dormancy.
Prune in early spring: most hydrangea, potentilla, sumac, spirea, shrub roses (mid-May), grapes, arborvitae (April and May), and yew (April and May).
For shrubs that bloom in the spring on old wood or last season’s growth, it is best to prune them right after they have finished blooming. This allows the plant to spend the rest of the year developing new shoots and blooms for the following year.
Prune after blooming: lilac, forsythia, weigela, mock orange, rhododendron, viburnum, pink flowering almond, and magnolia.
As a general rule, you do not want to do a lot of shrub pruning in the fall. During the fall, shrubs are slowing their growth and hardening off their branches to prepare for the winter. Pruning your shrubs in the fall can stimulate new growth that may not be able to harden off before winter arrives. This can cause dieback of the stem in the winter which can lead to more damage to your plants. There are a few exceptions to this fall pruning rule including pruning out dead, diseased, or damaged branches. These branches can be detrimental to your shrubs over the winter as they can harbor disease.
How to Prune
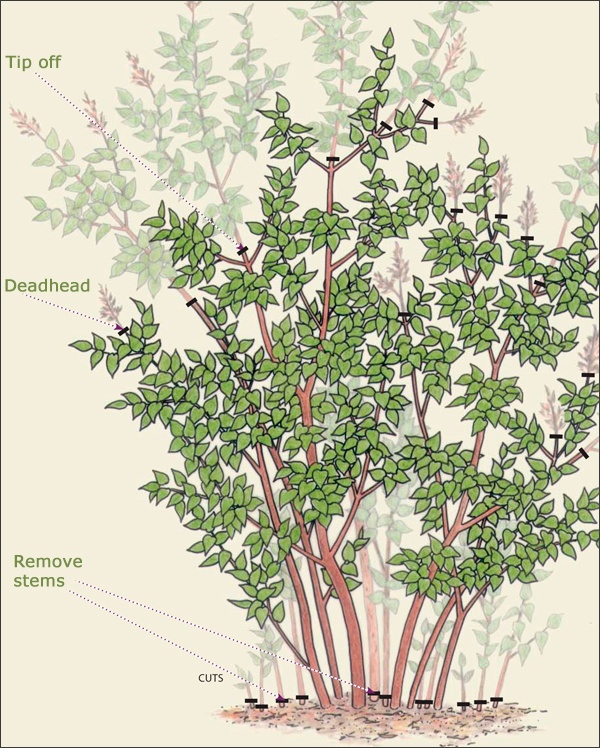
One method of pruning is simply deadheading. Deadheading is done by cutting off the old flower cluster right at its base just above the new side shoots. Deadheading allows the plant to allocate more energy to developing new roots and shoots. This method is great for your shrubs that you are happy with the size and shape of. When you are deadheading, also take an overall look at your plant and prune out any damaged branches.
The second method of pruning is called tipping off. This method is used to control the size and shape of your shrubs. For this method, the entire top of the stem is cut back to the side shoot at the height/width desired. It is a good idea to start by pruning out any stems that are diseased or damaged and then continue pruning branches until you get your desired size and shape.
The third method of pruning is rejuvenation pruning. This method is best used for old, overgrown shrubs that are no longer as full as they once were. In this method, stems that are old, diseased, or overall less productive are cut down to the ground. This allows new, more productive shoots to grow in place of the old unproductive shoots. A general rule of thumb is to cut back no more than 1/3rd of the shrub at a time. In this method, that would mean you would cut back 1/3rd of the old stems to the ground one year and leave the rest of the stems alone. You would repeat this process for the following two years until all of the old stems have been cut back.
Use sharp and clean tools. Sharp tools not only make your work easier but plants also heal faster from clean cuts. If you are cutting out diseased stems make sure to disinfect your pruners before you continue pruning to reduce the risk of spreading the disease.
Prune just above the bud at the desired height. Pruning too far above the bud leaves an unsightly stub that can encourage rot. Cutting too low can lead to your bud drying out and can stunt new growth.
Prune at a 45-degree angle with the lowest point of the cut opposite of the bud. If you cut at an angle greater than 45 degrees, the cut will have a larger surface area that leads to slower healing and a greater risk for disease.
Only prune 1/3rd of the plant’s mass at a time. Overpruning can stress out your shrubs and harm the plant’s ability to recover and put on new growth. If your shrub needs a major pruning overhaul, spread out your pruning over multiple years.
For lopsided shrubs, prune the shorter/less full side to stimulate branching and new growth that will help to even out the shape of the shrub.
Need help pruning your shrubs? Our Maintenance Division is ready and willing to lend a hand. Contact them today!
Have you noticed any spots like this on your trees or shrubs?
With the abundance of snow and lack of food sources available to deer and rabbits, our plants tend to fall victim to this damage known as girdling.
Girdling occurs when animals chew the outer layer of bark off a branch, harming the cambium layer.
The cambium layer is responsible for transportation of nutrients through the xylem and phloem. Once this layer has been chewed through all the way around the branch or trunk, the transportation becomes disrupted and the nutrients fail to continue on past the chewed area.
Unfortunately, once this happens the tree will slowly die. In some cases, a shrub can make a comeback if pruned below the girdled area. If you’ve noticed a small area has been chewed on, but isn’t a complete ring around the branch or trunk, your plant should come out unharmed.
The best way to prevent girdling is to use plastic trunk protectors or paper tree wrap from the ground up to the lowest branch. The best time to apply the protective barrier is in fall, but if you’re noticing damage can be applied mid-winter. White plastic trunk protectors can be left on trees until the bark has matured.
It should be noted that sometimes a tree will leaf out after being girdled due to stored nutrients; eventually it will die.
Buying your tree a month before Christmas doesn’t mean it’ll be dried out and shedding before it’s time to open presents.
Follow these Christmas trees do’s and don’ts to keep your tree green and fresh all the way to the new year!
Do: Make a fresh cut to remove a ¼” to 1” thick disk of wood from the base of the trunk before putting it in the stand.
Don’t: Cut the trunk at an angle, or into a v-shape. This makes it much more difficult to set the tree in the stand and also reduces the amount of water available to the tree.
Do: Use a stand that fits your tree.
Don’t: Whittle the sides of the trunk down to fit the stand. The outer layers of wood are the most efficient in taking water and should not be removed.
Do: Place the tree in water as soon as possible. If needed, trees can be temporarily stored for several days in a cool location. Place the freshly cut trunk in a bucket that is kept full of water until you place it in your stand.
BELOW ARE MORE TIPS FOR KEEPING YOUR TREE FRESH IN YOUR HOUSE.
When choosing a stand, use one with adequate water holding capacity for the tree. As a general rule, stands should provide one quart of water per inch of stem diameter.
Maintain a constant water level in the stand. This may require filling the stand several times the first few days.
Check the stand daily to make sure that the level of water does not go below the base of the tree. Once the tree goes dry, it will form a seal over the cut base and it is very difficult to get it to draw water again.
DRILLING A HOLE IN THE BASE OF THE TRUNK DOES NOT IMPROVE WATER UPTAKE.
Keep trees away from sources of heat (fireplaces, heaters, heat vents, direct sunlight).
Lowering the room temperature will slow the drying process, resulting in less water consumption each day.
Use lights that produce low heat, such as LED lights. Be sure to inspect light sets prior to placing them on the tree, if worn replace with a new set. Do not overload electrical circuits. Always turn off the lights when leaving the house or going to bed.
Monitor the tree for freshness, if the tree is dry remove it from the house.
Remember, once a tree is cut, it is in the process of dying. The usual life for a live cut Christmas tree indoors is approximately two to three weeks.
If you want a real Christmas tree indoors for a longer length of time, consider a flocked Christmas tree which is sprayed with a fire retardant and will last longer.
When removing the Christmas tree from the home, find a recycling program near your area. Never burn any part of a Christmas tree in a wood stove or fireplace.
When to plant
The proper time to plant bulbs is determined by when the bulbs bloom. Spring-blooming bulbs, like tulips, allium, and daffodils, should be planted in the fall while summer-blooming bulbs, like lilies and dahlias, should be planted in the spring.
Summer-blooming bulbs, also called tender bulbs, should be planted in the spring when the ground is warm and there is no longer a threat of frost. Since some summer-blooming bulbs are not winter-hardy, they must be dug up in the fall and stored until the following spring. Proper winter storage of these bulbs is crucial to whether the bulbs will succeed the following year.
Spring-blooming bulbs, also called fall bulbs or hardy bulbs, need approximately 12-16 weeks of cold weather to properly develop flower buds in the spring. When planting bulbs in the fall, keep an eye on the weather and wait until the daytime temperatures are consistently in the 60’s or lower. If the weather is too warm, it can cause premature growth, rotting bulbs, or poor development of the root system. When in doubt it’s better to wait until a light frost before planting, just make sure to get your bulbs in the ground before a hard freeze! Fall is also a great time to divide or move any existing bulbs that you have in the ground.
Steps to Bulb Planting Success
Choose your bulbs- When choosing your bulbs take into account the height of the bulb and the bloom time. Staggering the bloom time of your bulbs will help to extend the color through the season.
Check your soil- Make sure you are planting in an area with proper sunlight and well-draining soil. If the soil is dense, amend the soil with peat moss or gypsum to help increase drainage.
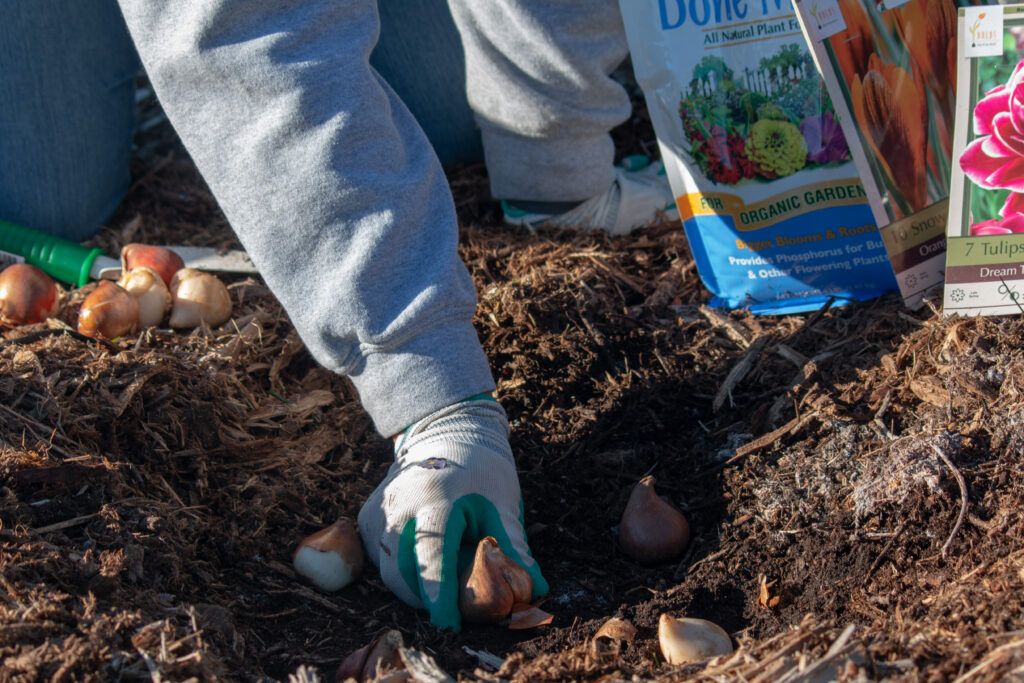
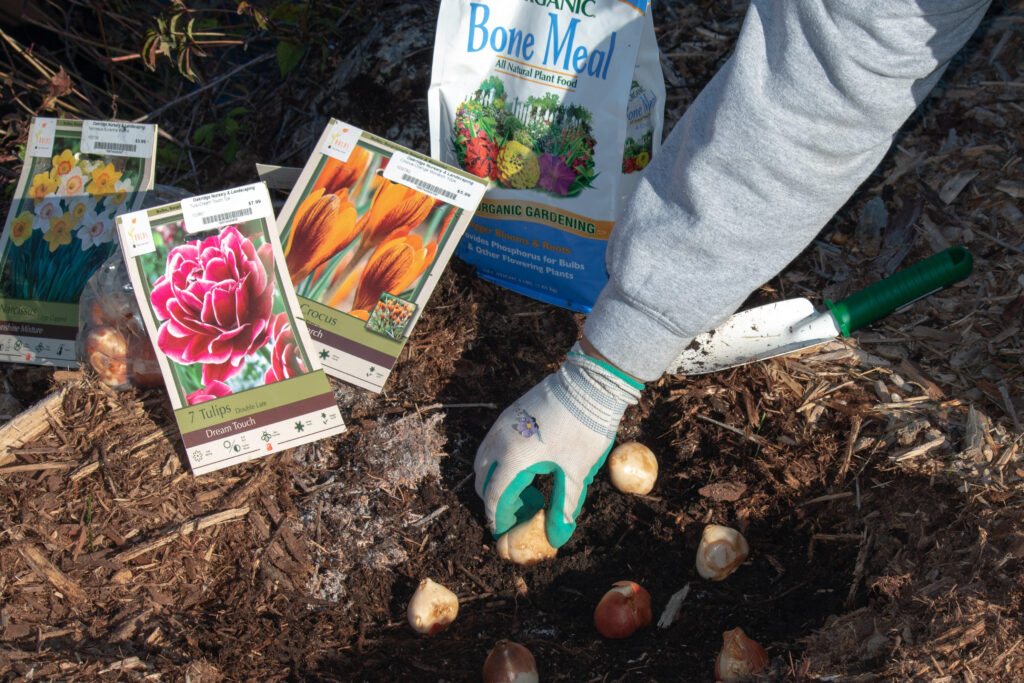
Plant your bulb at the proper depth- Check the back of your bulb package to determine the proper planting depth for your bulb variety as some bulbs will not flower if they are planted at the wrong depth. As a general rule, plant the bulb 2-3 times deeper than the height of the bulb. For example, a 2” bulb should be planted 4-6” deep.
Plant your bulbs- Place your bulbs into your hole with the pointed end towards the sky. If it is hard to distinguish which side is pointed, you can look for dried roots to indicate the bottom of the bulb.
Space out your bulbs- Check the back of your bulb package to determine the proper spacing of bulbs. For a bold pop of color, bulbs can be planted closer than recommended. Densely planted bulbs may not come back as strong the following season and will need to be divided sooner than properly spaced bulbs.
Add fertilizer- add compost or bone meal to your hole with your bulbs to help promote strong root development.
Cover your bulbs- Once you have your bulbs at the proper depth and space, cover the hole with soil.
Water your bulbs- Thoroughly water your new bulbs to settle the soil. After the initial watering, do not water the bulbs until you begin to see growth. Overwatering bulbs while they are dormant can lead to the bulbs rotting.
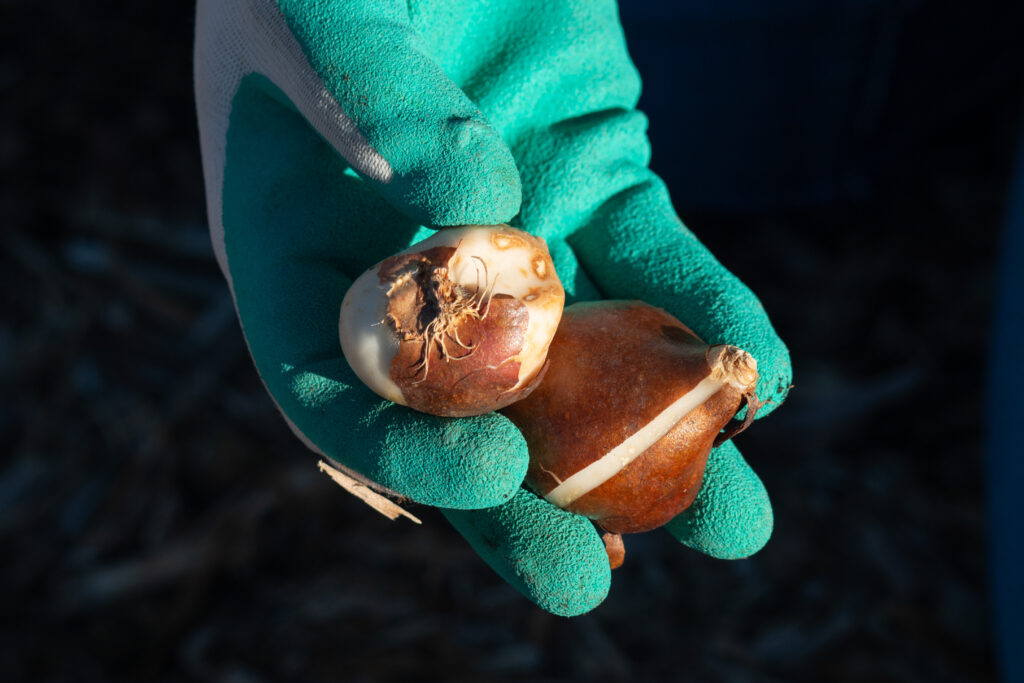
Digging up and Storing Bulbs
Cut any remaining foliage back to a couple of inches above the soil.
Carefully loosen the soil and remove the bulb.
Spread them out in a cool, shady place for a few days to allow the bulbs to dry out. Some bulbs are poisonous so make sure to keep them away from children or pets.
Store your bulbs in a cool, dark, dry location such as a basement or garage. It is best to store the bulbs in a container that can breathe, such as a paper bag or a mesh bag. Avoid storing bulbs in plastic as this can lead to your bulbs rotting.
Check your bulbs monthly for any signs of mold or rot.
As fall begins to set in, it’s time to prepare for cooler temperatures. Below we have compiled a fall garden checklist to make sure you’re ready for fall and to set yourself up for success in the spring.
Trees, Shrub, and Perennial Maintenance
Divide and replant existing perennials.
Plant new trees, shrubs, and perennials (see our fall planting guide for tips and tricks to planting in the fall).
Continue watering perennials, trees, and shrubs until the ground freezes.
Prune dead, diseases, or damaged stems off of shrubs. Do not prune spring-blooming shrubs like lilacs and forsythia. These shrubs should be pruned immediately after blooming in the spring. Check out our shrub pruning guide for more information about how to prune your shrubs.
Wrap young trees to prevent deer and rabbit damage during the winter.
Remove the tops of raspberry canes that have fruited; the lower portions of the raspberry will bear fruit the next summer.
After a few hard freezes, cut perennials down to 2” above the ground. Some perennials, such as grasses, can be left up to provide winter interest in your landscaping. Perennials can also be left up through the winter to provide a safe place for pollinators to nest through the winter.
Mulch tender perennials to help insulate them for winter.
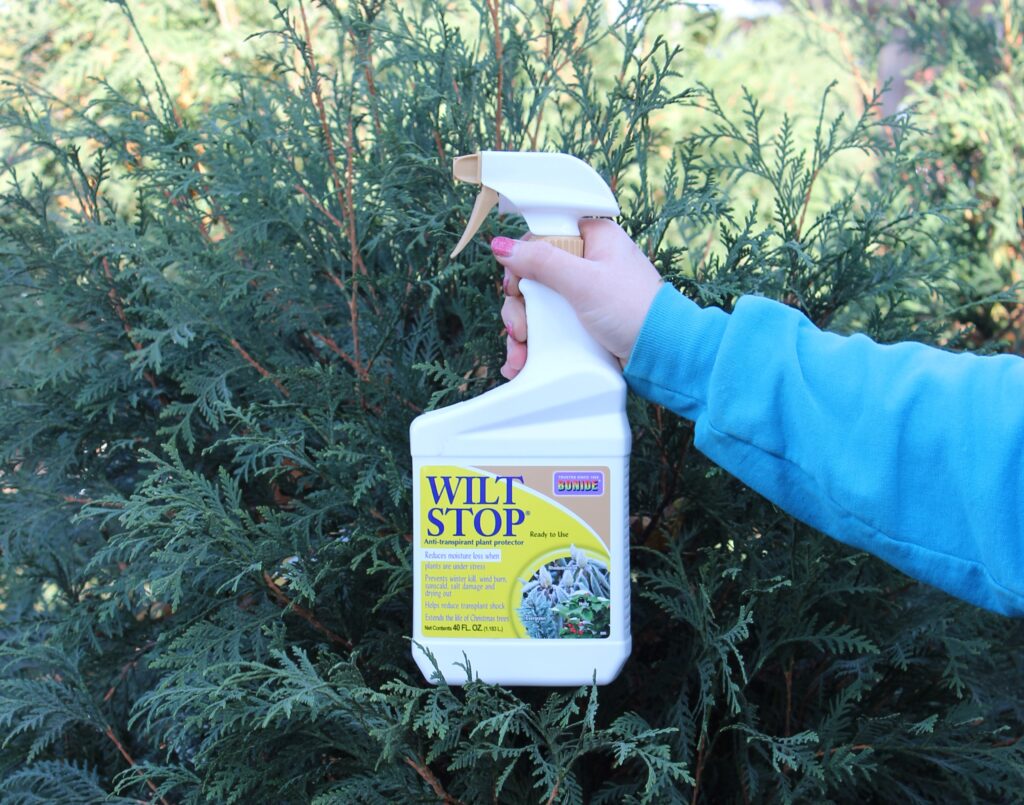
Spray Wilt Pruf, or another antidesiccant, on evergreens to prevent winterburn.
Around the House
Plant or move spring-blooming bulbs like tulips, daffodils, and hyacinths.
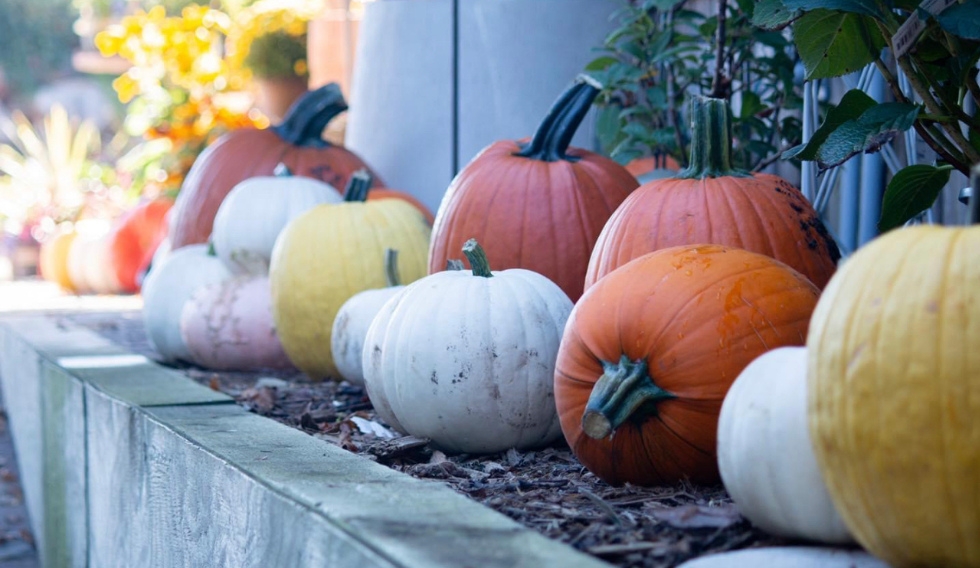
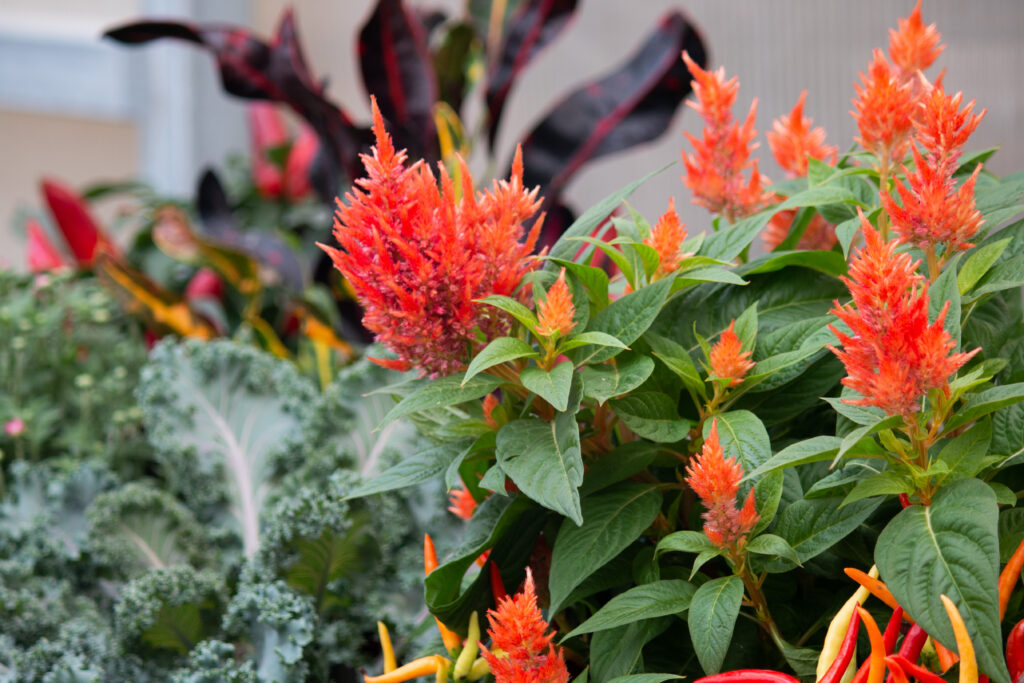
Refresh tired planters by removing summer annuals and replacing them with colorful mums, asters, ornamental kale, and pumpkins to add interest through the fall.
Before a hard freeze, remove annuals from your planters and discard them. Store planters indoors or in a protected area to limit freezing and cracking. If you plan on putting fresh greens in your planters for winter, leave the soil in the planters.
Keep an eye on overnight temperatures. Once the weather starts approaching 40℉ or lower, pull inside any tropicals or houseplants to avoid them getting damaged by the cold.
Store pesticides and herbicides in airtight containers and keep them in an area that will not freeze.
Lawn Preparation
Keep newly seeded lawns watered.
Continue to mow your lawn to prevent snow mold next spring.
Rake up any leaves or plant debris to prevent problems with mold and fungus.
Apply a winterizer to stimulate root growth and promote a healthy lawn. Always double-check the application rates of any fertilizer you apply as too much fertilizer can burn grass roots and harm your lawn health.
Spray broadleaf weeds in lawns until a hard frost.
Aerate your lawn to reduce soil compaction and improve water and nutrient absorption.